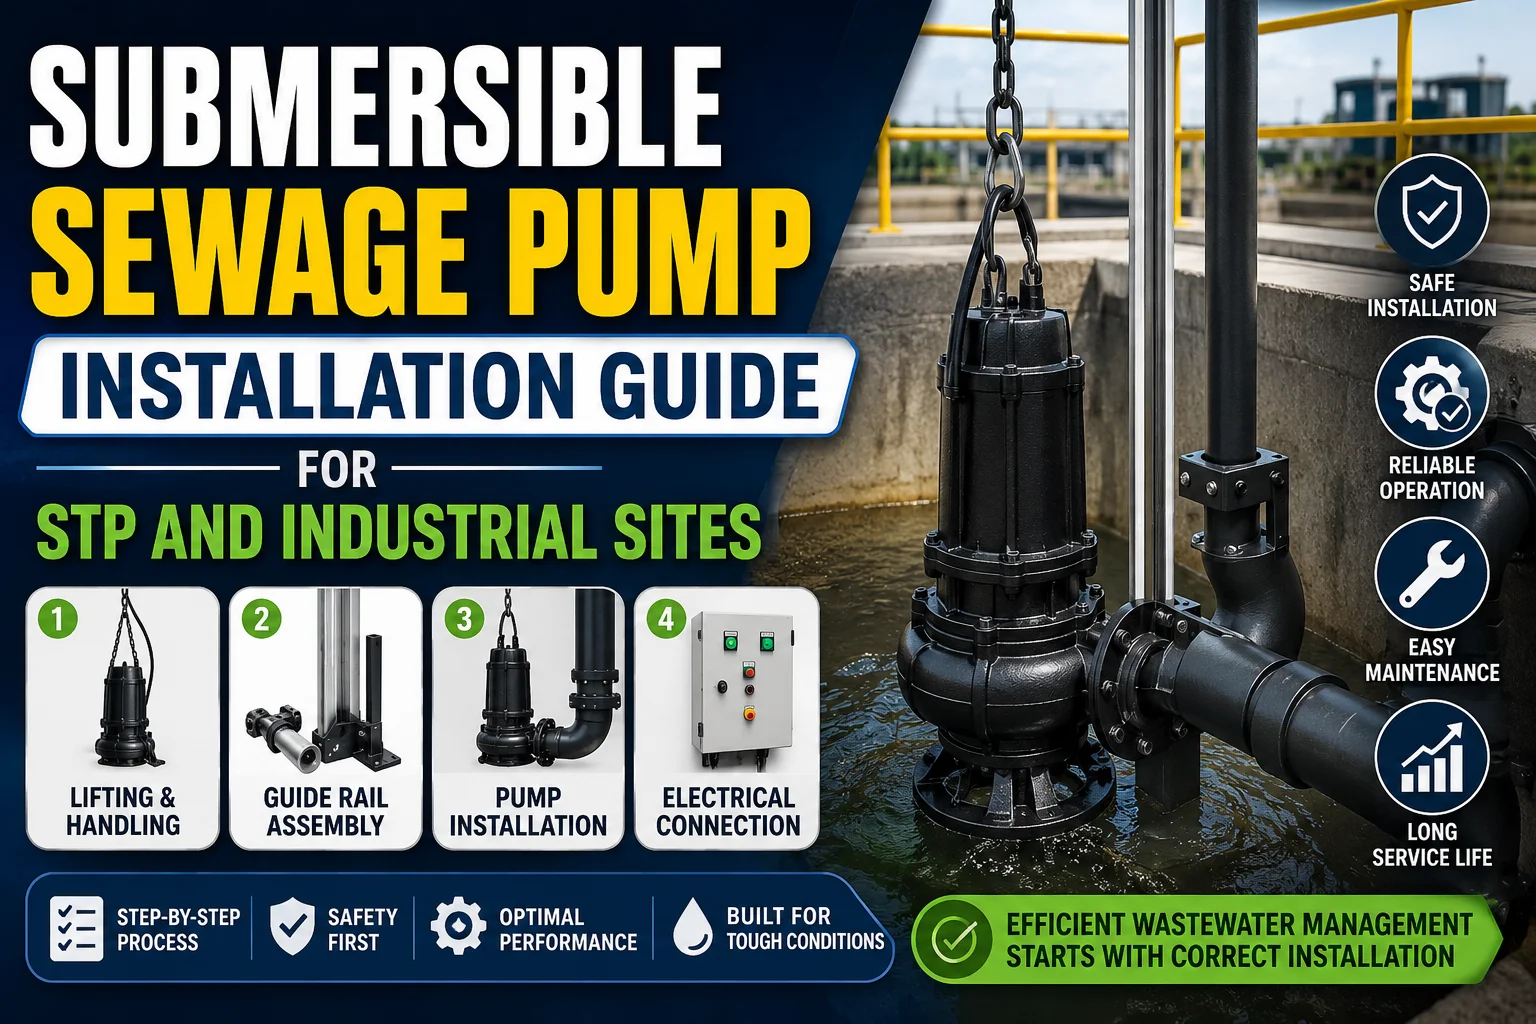
Learn how to install a submersible sewage pump for STP and industrial sites with practical checks, rail setup, wiring, commissioning, and common mistakes.
A submersible sewage pump should be installed so that it sits correctly on its auto-coupling or discharge connection, remains fully supported by the guide rail system, and can be lifted for maintenance without disturbing the pipework. The site team should verify sump depth, clearances, cable routing, level controls, and panel protection before the pump is lowered into position.
The fastest way to avoid repeat failures is to treat installation as a system task, not a lifting task. That means reviewing the wet well, the discharge line, the control panel, and the duty-cycle needs together before the first run.
If the application is mixed sewage and higher-solids service, the installation should also reflect the pump type and solids handling duty. For example, a project that uses a submersible sewage sludge pump will usually need closer attention to clogging risk and wet-well hydraulics than a simpler transfer station.
Why installation matters
A sewage pump can be technically correct on paper and still perform poorly if the installation is rushed. Misalignment, poor cable handling, air locking, or incorrect level settings can produce nuisance alarms, frequent starts, vibration, seal problems, or ineffective pumping.
For STP and industrial sites, the pump is part of a larger hydraulic and electrical system. That is why the submersible waste water pump used on one site may need a different setup detail, control logic, or maintenance access plan than the same nominal size used elsewhere.
Installation quality also affects life-cycle cost. A pump that is lowered properly, coupled cleanly, and commissioned with the right checks usually reaches stable operation faster and needs fewer site visits later. Poor installation often shows up as repeated call-backs that look like product issues but are actually site issues.
Engineers should also remember that installation errors can hide in plain sight. A station may start and discharge water, yet still have reversed rotation, weak sealing, incorrect float levels, or inadequate submergence that later causes operational trouble.
Pre-installation checks
Before lifting the pump into the wet well, confirm the drawings, delivery scope, and discharge arrangement against the actual site conditions. The team should check pump model, rating, cable length, mounting method, and whether the discharge connection uses an auto-coupling base or a fixed pipe arrangement.
Measure the sump and compare it with the pump datasheet minimum levels, operating levels, and starting levels. If the wet well is too shallow or the low-water cut-out is wrong, the pump may run with poor cooling, air entrainment, or unstable inflow conditions.
Inspect all received accessories before installation starts. That includes guide rails, upper guide brackets, chain hooks, base elbow or coupling parts, gland hardware, floats or level sensors, lifting chain, and the control panel interface items. Missing accessories cause delays and often lead to improvisation that should not be part of the final setup.
Check the cable path from the wet well to the panel entry point. The cable must be protected from abrasion, sharp bends, crushing, and accidental tension during maintenance lifting. If cable protection is weak, the installation can fail long before the hydraulic side of the pump is worn out.
Review the inlet conditions as well. If the sewage is likely to carry rags, fibrous material, or high solids, confirm whether the selected pump type and inlet arrangement can tolerate the service. In applications with aggressive solids handling needs, teams often compare the installation approach with a sewage pump sizing guide for STP and industrial to make sure the duty point and wet-well layout align.
Guide rail and auto-coupling setup
A good guide rail installation makes the entire pump easier to operate and maintain. The rails should be straight, rigid, and correctly anchored so the pump slides smoothly into position without binding or forcing. Even a small alignment error can make the coupling unreliable or damage seals and connectors over time.
The lower auto-coupling or discharge base should be fixed solidly and aligned with the discharge line. If the base is tilted, loose, or not properly supported, the pump may never seat fully, which leads to leaks or vibration during operation.
The upper guide bracket should be set so the rails stay vertical and the pump can be lifted and lowered without snagging. During installation, the team should test the travel path by lowering the pump slowly before the final fastening is considered complete.
Use the correct lifting chain or support hardware supplied for the pump size. Do not use improvised slings or load paths that can twist the pump body, damage the cable entry, or overload the connection point. The aim is repeatable maintenance access, not a one-time fit.
After mechanical placement, confirm that the pump docks cleanly into the auto-coupling. A clean seat means the discharge connection should feel positive, stable, and free from side loading. If the fit feels rough, inspect the rail spacing, bracket position, and coupling faces before commissioning.
Sump and wet well preparation
The sump should be clean, structurally sound, and free from installation debris before the pump goes in. Construction waste, stones, timber, cloth, and metal fragments can interfere with the impeller, the float arrangement, or the base connection during the first run.
Check the wet-well geometry against the intended pumping pattern. Poorly shaped sumps can encourage vortexing, sediment build-up, short-cycling, or air entrainment. If the site has a history of ragging or sediment accumulation, the team should plan inspection access and cleaning intervals before the pump is commissioned.
Confirm the inlet and outlet levels so the pump does not start and stop too frequently. Excessive cycling shortens contactor life, increases wear, and creates unstable service. Stable level control is just as important as hydraulic capacity.
Provide enough access space for future removal. A correct sewage pump installation should allow safe extraction of the unit for maintenance without dismantling the whole discharge line. This is especially important on compact STP sites where access is often tighter than the drawing suggested.
If the application resembles a wastewater transfer station more than a simple drainage pit, it may help to compare the site design with a submersible waste water pump installation pattern and confirm that the sump, float positions, and discharge layout are all serviceable in practice.
Electrical and control panel connection
The electrical connection should be completed by qualified personnel following the motor data and the site safety procedure. Verify voltage, phase sequence, motor current, insulation condition, and earthing before energising the pump. A fast installation is not useful if the motor is damaged on the first start.
Cable termination must be neat, sealed, and mechanically protected. The entry point should prevent water ingress and keep the cable from being pulled or chafed during lifting. In submersible service, cable protection is not optional because the environment is wet, corrosive, and maintenance-heavy.
Set the control panel protections to match the pump duty. That usually includes overload protection, dry-run logic where applicable, phase failure protection, overload trip settings, and level control inputs. If the panel is not tuned to the pump and wet-well behaviour, nuisance trips will make the station harder to run than it should be.
Confirm the float switch or level sensor positions before test start. The start, stop, and alarm levels should support stable operation, enough submergence, and safe intervention margins. Poor level logic is one of the most common reasons a well-installed pump still appears unreliable.
Before energising, isolate the system and confirm that all personnel are clear of the wet well and panel. Once power is restored, check rotation if the motor design and site procedure require it, then proceed to a controlled initial run. Never assume that a connected motor is a correctly connected motor.
Commissioning and initial run
Commissioning should begin with a dry functional review of the installation details. Confirm the pump is seated properly, the discharge connection is sealed, the rails are secure, the lifting chain is in the correct position, and the level controls are ready. Only then should the pump be allowed to run.
During the first run, observe starting behaviour, current draw, vibration, discharge performance, and any unusual noise. The goal is to catch issues early, before the system is handed over as if everything is already stable. Short observation windows are not enough for a sewage duty pump.
Check for air locking, weak discharge flow, or unexpected cycling. If the pump starts but does not move liquid properly, the issue may be related to wet-well priming conditions, discharge obstruction, valve position, or incorrect coupling. In many cases the pump itself is fine, but the installation is not yet.
Record the baseline operating current, levels, and start-stop sequence. Those values become the reference for later maintenance troubleshooting. Without baseline data, site teams often guess whether performance has changed.
If the installation is part of a larger STP duty system, compare the first-run results with the pumping objectives used in the submersible sewage sludge pump and sewage sizing discussions. That helps ensure the pump is not only running, but running in the right part of the duty envelope.
Common installation mistakes
One common mistake is lowering the pump before the rails and coupling are fully aligned. That creates side loading, poor seating, and unnecessary wear. The job may look finished, but the installation is already compromised.
Another mistake is ignoring sump conditions because the pump is the visible equipment. Wet wells with debris, poor geometry, or level-control mistakes can produce problems that appear to be pump defects. In reality, they are often preventable site issues.
Teams also sometimes leave cable routing as an afterthought. A cable that is too tight, poorly supported, or exposed to abrasion can fail even when the hydraulics are correct. This becomes a recurring fault source that wastes maintenance time.
A frequent electrical mistake is setting the panel protections too loosely or too aggressively. Too loose, and the pump is exposed to damage. Too aggressive, and the station trips on normal operating variation. Both outcomes point to poor commissioning.
Finally, some projects skip the first-run verification and assume the pump is fine because it started once. That is not a commissioning standard. A proper installation proves safe operation, stable levels, correct discharge, and maintainable access.
Frequently asked questions
How do I know whether the pump is seated correctly on the auto-coupling?
The pump should lower smoothly and feel stable when it reaches the base connection. A correctly seated pump usually has no obvious wobble, side pull, or need for force to achieve the final docked position. After lowering, the discharge connection should appear fully engaged and the pump should not feel misaligned on the rails. If the fit seems rough, stop and inspect the rail spacing, bracket alignment, and base connection before start-up.
Do I need a guide rail system for every submersible sewage pump?
Not every installation uses the same mounting detail, but guide rails are strongly preferred where maintenance access and repeatable lifting are important. They make removal safer and reduce the chance of damaging the discharge connection during maintenance. For STP and industrial duty, a rail or similar serviceable arrangement usually makes the site easier to operate over the long term. It is better to design for removal before the first breakdown happens.
What is the most common reason a newly installed sewage pump trips on start?
Common reasons include incorrect level settings, phase issues, overload setting mismatch, or a problem in the control panel wiring. Sometimes the pump is mechanically fine but the panel logic does not match the actual site conditions. If the pump trips immediately, the team should check the electrical sequence first and then verify whether the discharge line or wet well conditions are causing abnormal load. Fast start-up does not always mean healthy start-up.
How much space should I leave for future maintenance?
Leave enough room to lift the pump clear of the wet well, inspect the rails, and remove the unit without dismantling the full discharge arrangement. Maintenance access should be part of the original installation plan, not added later. Compact sites often underestimate this requirement. If the pump cannot be removed safely, even a small repair becomes a major shutdown event.
Should I check rotation before commissioning a submersible sewage pump?
Yes, when the motor design and site procedure require it, rotation should be verified before full operation. Incorrect rotation can reduce performance and confuse the diagnosis of an otherwise sound installation. The check should be done by qualified personnel using the correct safety isolation steps. Do not rely on sound alone as a proof of correct rotation.
What should I review if the pump runs but discharge feels weak?
Start with the wet-well level, discharge valve position, coupling engagement, and any obstruction in the line. Weak discharge can be a hydraulic or installation issue, not necessarily a motor issue. It is also worth confirming whether the site conditions match the pump’s intended duty. If the system is handling heavier sewage or sludge content, the installation may need to be reviewed against the intended application and site hydraulics.
Need help selecting the right pump?
Share your flow, head, liquid type, solids, site layout and duty cycle with Flow Chem Pumps. Our team can help you shortlist the right pump.